To achieve cafe-quality, silky milk foam with a handheld frother, the secret lies in temperature control and aeration technique. Here is how to do it in four simple steps:
1. Prep the Milk
Selection: Use whole milk for the best results; its protein and fat content create a more stable, long-lasting foam.
Heat: Warm the milk to 60°C – 65°C (140°F – 150°F). It should be hot to the touch but not scalding. Avoid boiling, as scorched milk won’t foam properly.
2. Aeration (The “Stretch”)
Submerge the frother head just below the surface (about 1 cm deep) at a slight angle.
Turn it on and adjust the position until you hear a “chirping” or “hissing” sound. You should see the milk volume expanding.
Tip: Only aerate for 5-10 seconds to avoid creating overly dry, stiff foam.
3. Texturizing (The “Roll”)
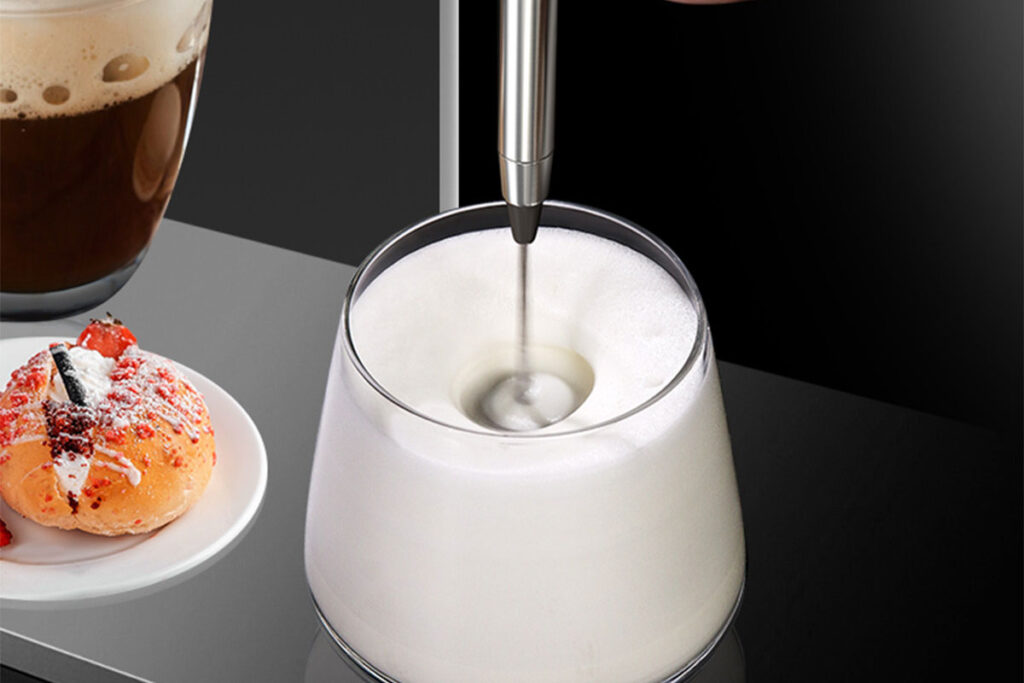
Once the volume has increased by about 50%, deeply submerge the frother head toward the bottom of the cup.
Keep the frother angled to maintain a vortex (whirlpool). This breaks down large bubbles and integrates the foam into a creamy “microfoam.”
4. The Finish
Turn off the frother before removing it. Tap the cup firmly on the counter to pop any remaining large bubbles.
Swirl the cup gently until the surface looks like wet paint or shiny polished leather.
Pro Tip: If you want to try latte art, transferring the foam into a dedicated stainless steel milk pitcher will give you much better control.
